
|
AISpace2 | Main Tools | News | Downloads | Prototype Tools | Customizable Applets | Practice Exercises | Help | About AIspace |
|
|
Tutorials
Belief and Decision Networks
Tutorial 1: Creating A New Belief NetworkIf at any point, you would like to reset the applet and restart the graph creation process from scratch, simply select 'Create New Graph' from the 'File' menu. If you have just started the applet, or started to create a new graph, the screen should look like the one shown below: 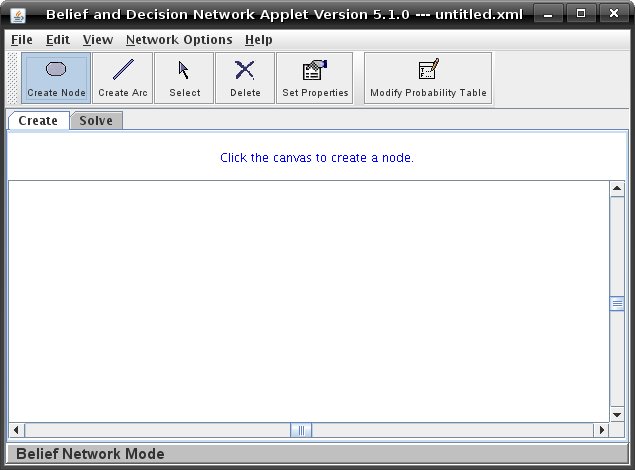 The applet automatically begins in 'Create Node' submode. To change the submode, depress the Create toolbar buttons accordingly. The text above the main white canvas will change according to the submode you are in, or when the applet needs to provide you with more information. To create a node, press the "Create Node" button and then click anywhere on the canvas, and you will see the following dialog box: 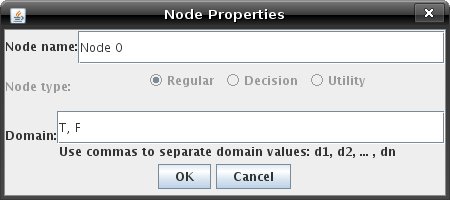 Enter a new name if you like, by typing it into the box beside the words 'Node name'. The current domain values will appear in the text field next to the word "Domain:". To add remove or change the domain, type in the new domain values in the text field, separated by commas. Keep in mind that a node is not allowed to have an empty domain, and you will get a warning if you try to close the box with the Domain field empty. When you have finished editing the properties of the new node, click 'OK' to close the box and save your changes. The node you've created will have appeared at the spot where you clicked. Create a few more nodes if you like. To join them together you will have to add arcs. Click on the 'Create Arc' button. To begin creating an arc, click on a node. To place the other end of the edge, click on a different node. You will now see an arrow between them, pointing from the first node to the second node. Keep in mind that Bayesian Networks cannot have cycles. After creating a few more nodes and edges, your graph might look something like this: 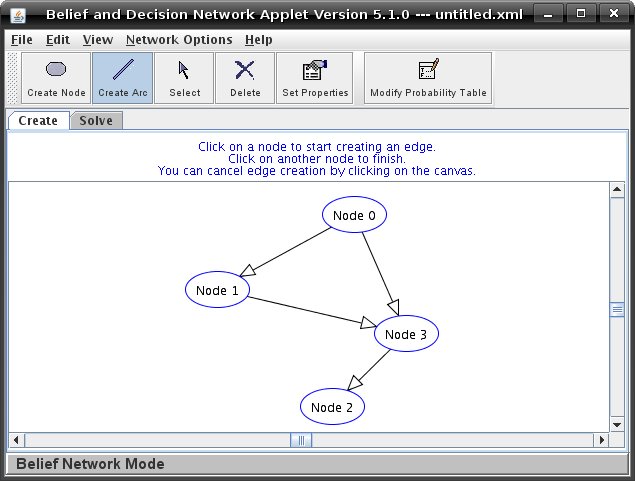 However, the reason we use Bayesian networks is to model probabilistic inference, and the graph wouldn't be very interesting if we couldn't set prior and conditional probabilities. To set the probability table for a node, click the 'Modify Probability Table' button, and then click on any node in your graph. A new window will open showing the possible probability contexts for this node, and you can now set the probabilities for each domain value, given those contexts. For example, the unmodified probability table for 'Node 3' in the example graph looks like this: 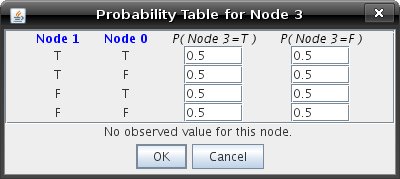 Enter some new probabilities, keeping in mind that the probabilities in each row must add up to 1, and the applet does not allow probabilities greater than 1 or less than 0. When you are finished, click 'OK'. Modify the probability tables for your nodes as you please. When you are finished, you are ready to query your graph. Creating a Decision Network is quite similar to this, with some added options and functionality. See Tutorial 6 on Decision Networks for more information. |
| Main Tools: Graph Searching | Consistency for CSP | SLS for CSP | Deduction | Belief and Decision Networks | Decision Trees | Neural Networks | STRIPS to CSP |