
|
AISpace2 | Main Tools | News | Downloads | Prototype Tools | Customizable Applets | Practice Exercises | Help | About AIspace |
|
|
Tutorials
Planning
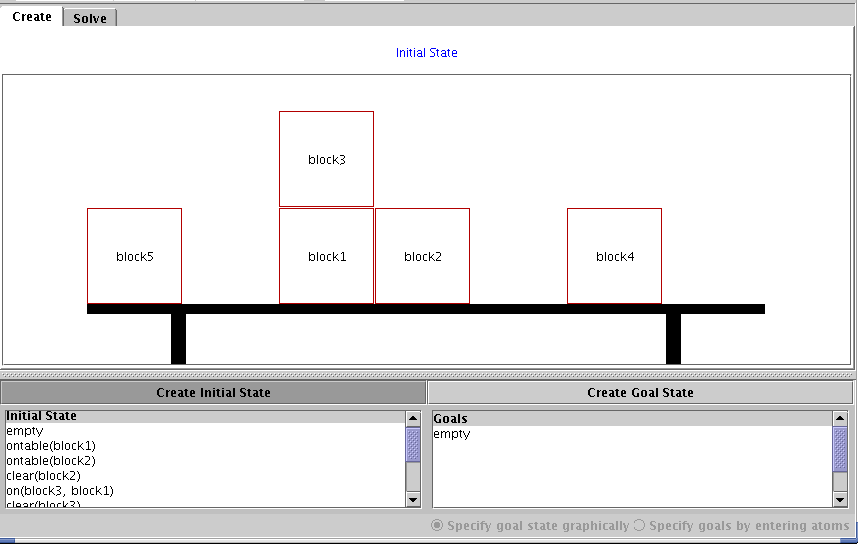
Tutorial 1: Creating an Initial StateIf at any point, you would like to reset the applet and restart the creation process from scratch, simply select 'Create New Planning Problem' from the 'File' menu. If you have just started the applet, or started to create a new problem, the screen should look like the one shown below:  The applet automatically begins in the 'Create New Block' submode, which you can see because it is the button that is depressed on the tool bar at the top of the window. If this button is depressed, then anytime you left click on the white canvas, a block will be created on the closet part to the table or another block, and similarly for each button that is depressed. Each time a button is clicked, the message panel above the canvas displays a message giving you information of what you can do next. If you click on the canvas now the 'Block Properties' dialog box opened: 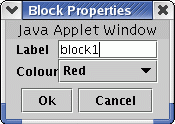 Enter a new name if you like, by typing it into the box beside the words 'Label'. You can also set the block's color. Click 'OK' to create the block or 'Cancel' to cancel the block creation. Create a few more blocks if you like.
 To learn how to create the goals for the plan to solve, see Tutorial 2 on creating a goal state.. |
| Main Tools: Graph Searching | Consistency for CSP | SLS for CSP | Deduction | Belief and Decision Networks | Decision Trees | Neural Networks | STRIPS to CSP |